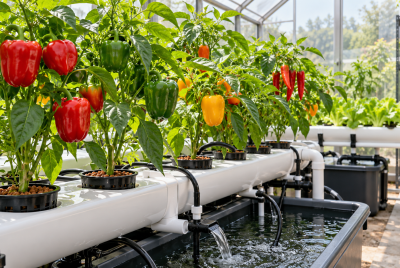
How to Spot and Fix Nutrient Burn in Hydroponics
We may earn a commission for purchases made using our links. Please see our disclosure for more details.
Hydroponics gives you close control over plant nutrition, but a small mixing mistake can quickly cause trouble. Brown tips, crispy edges, unusually dark leaves, and slow growth may all point to nutrient burn.
The problem develops when fertilizer salts become too concentrated around the roots, making it harder for the plant to take up water. Most plants can recover, but it is important to confirm the cause before changing the reservoir.
What Is Nutrient Burn?
Nutrient burn occurs when the nutrient solution is stronger than the plant can tolerate. The excess dissolved salts place stress on the root system and interfere with normal water uptake.
Despite the name, heat does not actually burn the plant. The damage usually comes from an overly concentrated nutrient mix, salt buildup in the growing medium, or an EC level that has gradually climbed too high.
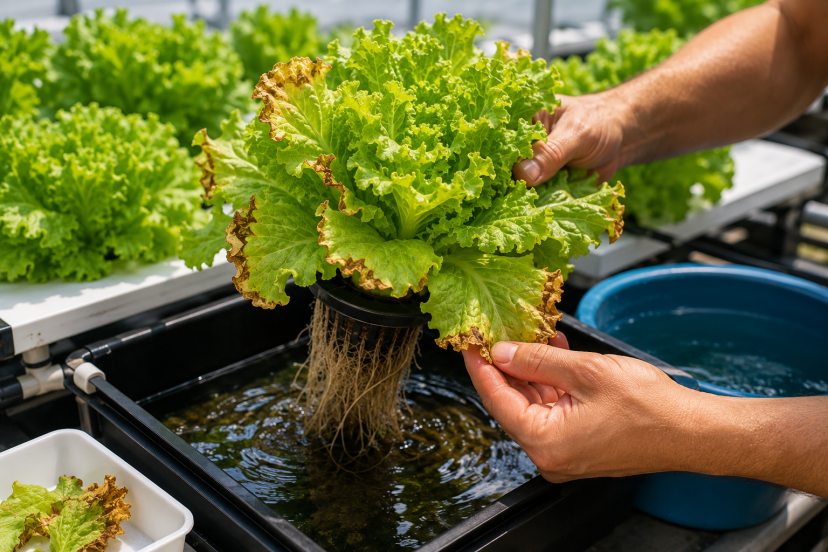
Nutrient burn often begins at the leaf tips. They may turn yellow or brown before drying into crisp, brittle points. In more advanced cases, the damage can spread along the leaf edges.
Other signs may include:
- Very dark green foliage
- Downward-curving or claw-shaped leaves
- Brown or scorched-looking margins
- Slow or stalled growth
- Wilting even when water is available
- White mineral deposits on equipment or growing media
- EC or TDS readings above the recommended range
Old leaf damage will not turn green again. To judge whether the plant is recovering, pay attention to the color and shape of its newest growth.
Common Causes of Nutrient Burn
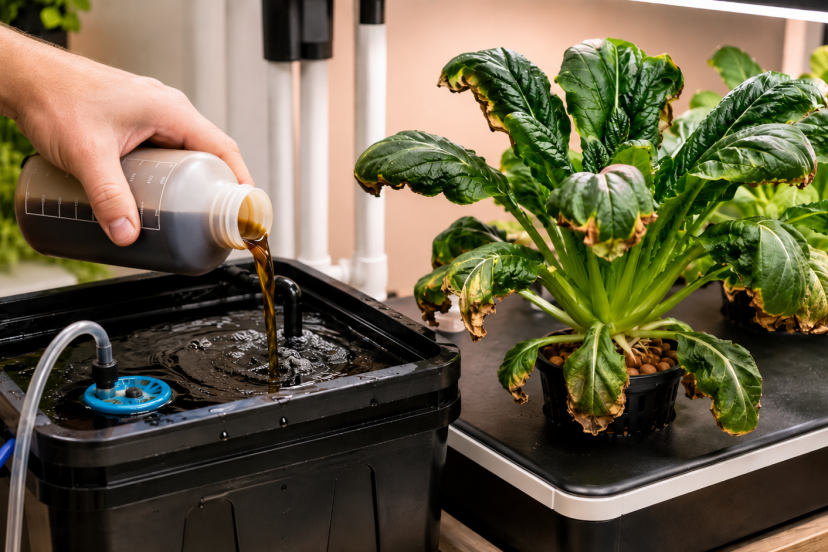
Mixing the Nutrient Solution Too Strong
It is easy to misread a label, miscalculate the reservoir volume, or use a mature-plant dosage on young seedlings.
New plants and recent transplants generally need a gentler nutrient solution. Starting too strong can stress their developing roots before they have time to adjust.
Replacing Lost Water With Full-Strength Nutrients
Plants do not absorb water and nutrients at exactly the same rate. Water also evaporates, while dissolved fertilizer salts remain in the reservoir.
If every top-up contains a full nutrient dose, the solution can become stronger each time. The water level may look normal, but the EC can continue to rise.
Use your meter readings to decide whether the reservoir needs water, nutrients, or a complete solution change.
Using the Wrong EC Target
Hydroponic crops do not all prefer the same nutrient strength. A tomato plant, for example, usually has different requirements from lettuce or basil. Those needs may also change as the plant matures or environmental conditions shift.
Oklahoma State University’s EC and pH guide for hydroponic crops lists different target ranges for lettuce, spinach, basil, cucumber, tomato, and other crops.
Use a crop-specific range as your starting point, then adjust carefully based on the plant’s response.
Poor Source Water or Inaccurate Meters
Tap water can already contain dissolved minerals before you add any fertilizer. If the source water starts with a high EC, your finished nutrient solution may be stronger than expected.
Meters can also drift out of calibration. A faulty reading may encourage you to add nutrients even when the reservoir is already concentrated.
Test your source water and calibrate your equipment according to the manufacturer’s instructions.
Is It Really Nutrient Burn?
Brown leaf tips do not always mean that the nutrient solution is too strong. Several hydroponic problems can produce similar symptoms.
Light or heat stress usually affects leaves closest to the grow light. You may notice upward curling, bleaching, or dry patches across the upper canopy.
A pH problem can make nutrients difficult for the plant to absorb, even when they are present in the reservoir. This is often called nutrient lockout.
Calcium-related tipburn is also common in fast-growing leafy greens. Poor airflow, high humidity, rapid growth, or weak root activity may prevent enough calcium from reaching young leaves. Adding extra calcium may not solve the real problem.
Root disease can cause wilting, leaf damage, and poor nutrient uptake as well. Healthy roots are usually light-colored and firm. Brown, slimy, or foul-smelling roots suggest a separate issue that needs immediate attention.
Before treating nutrient burn, check the EC, pH, water temperature, root condition, lighting, and airflow.
How to Fix Nutrient Burn
1. Stop Adding Fertilizer
Pause all nutrient additions while you investigate the problem.
Review the product label, reservoir size, recent top-ups, and mixing notes. A quick check may reveal a double dose, incorrect water volume, or measurement error.
Avoid adding another supplement simply because the plant looks stressed. More fertilizer can make an already concentrated solution even harder on the roots.
2. Test EC and pH
Check the reservoir with properly calibrated meters and compare the readings with the recommended range for your crop and growth stage.
EC measures electrical conductivity, which growers use to estimate the overall concentration of dissolved ions in the nutrient solution. However, it cannot tell you whether each individual nutrient is present in the correct proportion.
The University of Minnesota Extension explains in its small-scale hydroponics guidance that an overly concentrated nutrient solution can make water uptake difficult and contribute to wilting, stress, and poor growth.
If the EC is within range, look more closely at pH, root health, lighting, solution temperature, and pests before flushing the system.
3. Dilute or Replace the Solution
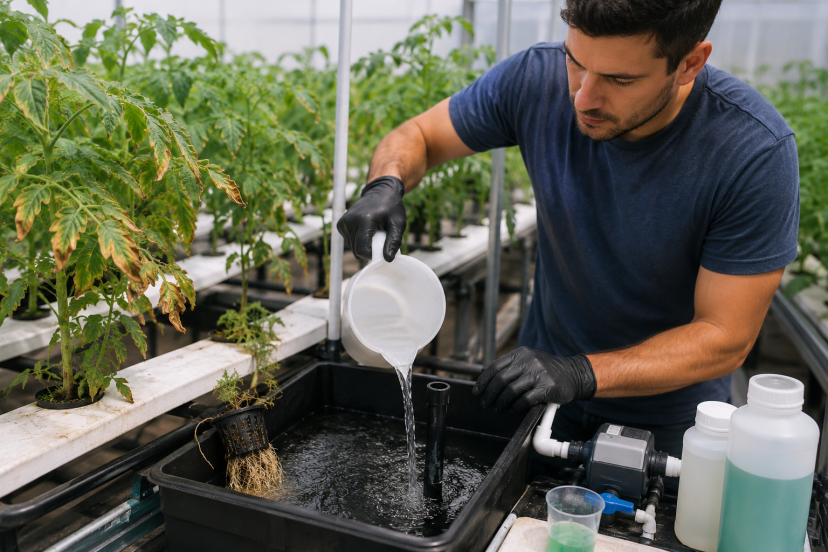
If the EC is only slightly above the target range, remove part of the nutrient solution and replace it with suitable fresh water.
Let the pump circulate the reservoir, give the reading time to settle, and test again. Repeat gradually rather than making one drastic correction.
For a serious overdose or a reservoir with an uncertain mixture, starting over is usually safer. Empty the old solution and prepare a fresh batch at a mild, crop-appropriate strength.
Adjust the pH slowly after mixing. Large, sudden corrections can create a new problem while you are trying to solve the first one.
Avoid leaving roots in plain water for an extended period. Once the excess salts have been reduced, the plants still need balanced nutrition.
4. Rinse Salt From the Growing Media
Coco coir, rockwool, clay pebbles, and other growing media can hold fertilizer residue even after you correct the reservoir.
Run a mild, properly adjusted nutrient solution through the root zone and allow the excess to drain away. Do not return salty runoff to the fresh reservoir, or it may push the EC back up.
Check drainage trays, irrigation lines, and containers for visible mineral buildup while you are working.
5. Check the Roots and Equipment
Take a close look at the roots, air stones, pumps, and irrigation lines. Remove dead plant matter and make sure water is moving through the system properly.
Lowering the EC will not fix blocked tubing, weak aeration, overheated water, or decaying roots. These problems can continue damaging the plant even after the nutrient concentration has been corrected.
Deal with equipment or root issues before returning to your usual feeding schedule.
6. Ease Back Into Feeding
Restart with a weaker nutrient mix and watch the plant over the next several days.
Raise the nutrient strength only after the new growth looks healthy and the readings remain steady. Older leaves may still show damage, so do not judge progress by the brown areas alone.
Small EC changes are normal. Look at the overall trend, water level, root condition, and plant appearance instead of reacting to every minor fluctuation.
How Long Does Recovery Take?
A mildly affected plant may begin producing healthier growth within a few days. More serious cases can take a week or longer, especially when the roots have also been stressed.
Wait before cutting away every leaf that shows damage. Leaves with some healthy green tissue can still help the plant produce energy.
Trim leaves that are mostly dead, showing signs of disease, or blocking airflow. Otherwise, let the plant focus on new growth.
How to Prevent Nutrient Burn
Accurate measuring is the simplest form of prevention. Confirm the true reservoir volume and follow the nutrient manufacturer’s instructions carefully.
Always dilute each nutrient component separately before adding it to the reservoir. Dilute each part in water as directed so the ingredients do not react and form solids before reaching the roots.
A basic grow log can also help you catch gradual changes. Record:
- EC or TDS
- pH
- Water level
- Solution temperature
- Nutrient additions
- Reservoir changes
- Notes about plant growth
One reading offers a snapshot. A log shows whether the reservoir is stable, drifting, or changing after each top-up.
You can also use these hydroponic automation ideas to monitor water levels, pumps, pH, nutrient strength, and growing conditions more consistently.
Automation does not replace regular plant checks, but it can warn you about changing conditions before the leaves start showing damage.
Recommended Products
You do not need every item below. A dependable EC meter, an accurate pH test, and the proper calibration supplies are usually enough for a small home setup.
1. Bluelab Truncheon Nutrient Meter
The Bluelab Truncheon is designed for quick nutrient-strength checks. You can place it directly in the reservoir and use it to stir the solution while taking a reading.
Its simple display makes it useful for growers who check EC or ppm frequently.
2. HM Digital COM-80 EC/TDS Meter
The HM Digital COM-80 measures EC, TDS, and temperature in a compact handheld design.
It is a straightforward option for small reservoirs, countertop systems, and routine spot checks.
3. Apera Instruments PC60 5-in-1 Meter
This multi-purpose meter measures pH, EC, TDS, salinity, and temperature.
It may suit growers who prefer maintaining one testing device instead of carrying separate pH and conductivity pens.
4. General Hydroponics pH Control Kit
This kit includes liquid pH testing supplies along with pH Up and pH Down solutions.
The color-based test can serve as a useful backup when a digital meter gives an unexpected reading.
5. Bluelab pH Pen and Probe Care Kit
This set includes a digital pH pen with cleaning, calibration, and storage supplies.
Keeping the probe clean and properly stored can improve reliability and extend the working life of the meter.
Conclusion
Nutrient burn is usually manageable when you catch it early. Check the symptoms, measure EC and pH, and correct the nutrient solution gradually instead of adding more supplements.
Damaged leaf tips will not recover, so watch the new growth for signs of improvement. Accurate mixing, regular monitoring, and crop-specific EC targets can help keep the problem from returning.
FAQs
Can Hydroponic Plants Recover From Nutrient Burn?
Yes. Many plants recover once the nutrient concentration and root-zone conditions return to a suitable range. New leaves should look healthier, although old brown tips will remain damaged.
Should I Flush Hydroponic Plants With Plain Water?
A brief rinse may help remove heavy salt buildup from the growing medium. However, avoid leaving the roots in plain water for too long because the plant still needs balanced nutrients.
Does Nutrient Burn Always Begin at the Leaf Tips?
It commonly starts at the tips or edges, but symptoms can vary. Heat stress, pH problems, calcium transport issues, and root disease may cause similar damage.
What EC Is Too High for Hydroponics?
There is no single limit that applies to every crop. The ideal EC depends on the plant variety, growth stage, environment, and starting water quality.
Should I Remove Leaves Damaged by Nutrient Burn?
Remove leaves that are mostly dead, diseased, or restricting airflow. Keep partly healthy leaves when possible because the green tissue can still support photosynthesis.