How to Build a Hydroponic Bed Step by Step
We may earn a commission for purchases made using our links. Please see our disclosure for more details.
Setting up a hydroponic garden can seem complicated when you’re dealing with pumps, growing trays, and nutrient solutions for the first time. But building a hydroponic bed doesn’t require an elaborate setup. You just need the right materials and a reliable way to deliver water and nutrients to your plants.
A simple flood-and-drain system is a practical starting point for growing lettuce, herbs, and other vegetables at home. This guide walks you through each step, from preparing the growing bed and connecting the water pump to adding nutrients and transplanting your first seedlings.
What Is a Hydroponic Bed?
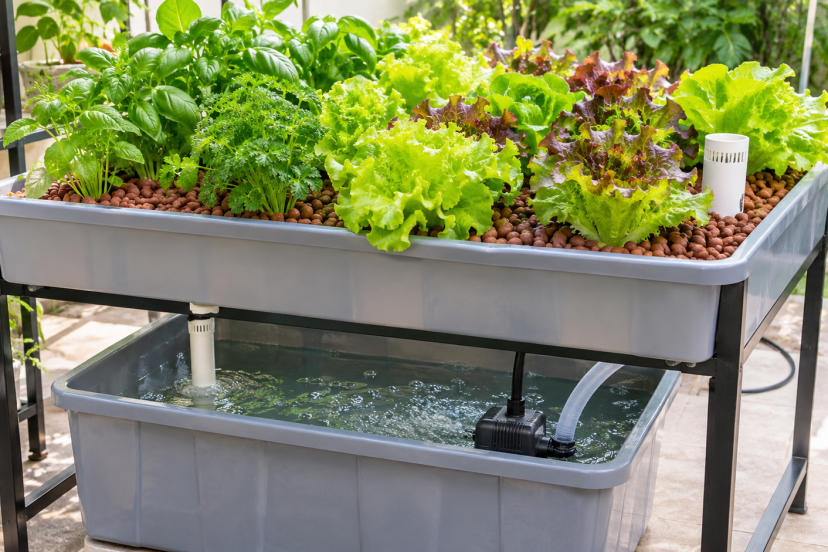
A hydroponic bed is a growing container that supports plants without traditional soil. Instead, plant roots receive water and dissolved nutrients, often while being supported by materials such as expanded clay pebbles.
One popular design is the flood-and-drain system, also called ebb and flow.
A pump periodically fills the growing bed with nutrient solution. The water then drains into a reservoir, allowing air to reach the roots between watering cycles.
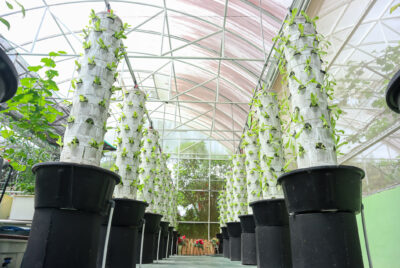
If you’re exploring different growing methods, this guide to hydroponic systems for beginners explains several options for home gardeners.
Benefits of Building a Hydroponic Bed
A DIY hydroponic bed offers several advantages over conventional soil gardening.
- Efficient water use: Recirculating systems reuse nutrient solution, reducing unnecessary water waste.
- Better nutrient control: You can monitor and adjust nutrients based on plant requirements.
- Flexible growing space: Hydroponic beds can work in greenhouses, patios, or suitable indoor areas.
- Fewer soil-related problems: Growing without soil eliminates certain soilborne pests and diseases.
- Customizable design: You can build a system that fits your space, budget, and preferred crops.
Hydroponics still requires regular attention, but having more control over growing conditions can make plant management easier.
Materials Needed to Build a Hydroponic Bed
Before starting, gather the following supplies:
| Material | Purpose |
| Growing tray | Holds plants and growing medium |
| Water reservoir | Stores nutrient solution |
| Submersible pump | Circulates water |
| Digital timer | Controls watering cycles |
| Drain and overflow fittings | Return water to the reservoir |
| Flexible tubing | Connects the system |
| Expanded clay pebbles | Support plant roots |
| Hydroponic nutrients | Supply essential minerals |
| pH and EC meters | Monitor water quality |
You’ll also need a drill, suitable plumbing fittings, and a sturdy stand.
Choose opaque, watertight containers suitable for growing edible plants. The stand must also support the weight of the growing medium and water.
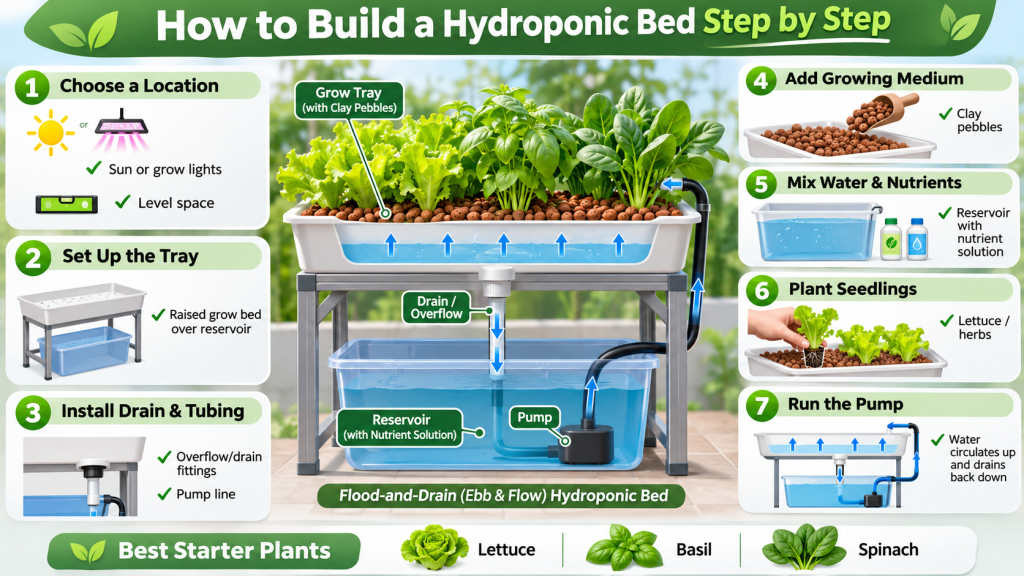
How to Build a Hydroponic Bed Step by Step
A flood-and-drain design is a practical choice for home gardeners because it uses straightforward plumbing and allows you to adjust watering cycles.
Step 1: Choose a Suitable Location
Find a level area with enough space for the growing tray and reservoir.
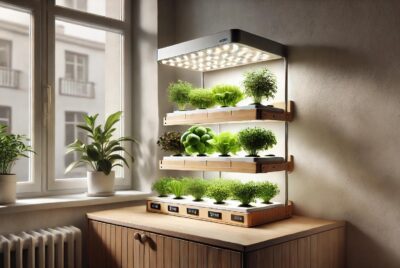
Outdoor beds need adequate sunlight and protection from extreme weather. Indoor hydroponic systems typically need LED grow lights to provide sufficient light for healthy plant growth.
Keep the system close to a reliable electrical outlet while protecting plugs and connections from water.
Leave enough room for refilling the reservoir, inspecting equipment, and harvesting plants.
Step 2: Prepare the Growing Tray
Choose a watertight tray approximately 6–10 inches deep for a small home setup.
Place it on a stable frame above the reservoir. Make sure the tray sits level so water spreads evenly throughout the growing medium.
Avoid flimsy containers that might bend under the weight of water and plants.
Step 3: Install the Drainage System
Install suitable fill and drain fittings through the growing tray.
Connect the drain to the reservoir beneath it. Add a screened overflow standpipe to prevent water from rising above the intended level.
Position the overflow slightly below the growing medium’s surface.
Secure and seal every connection carefully to keep water from escaping.
Step 4: Connect the Water Pump
Place the submersible pump inside the reservoir and connect flexible tubing to the tray’s fill fitting.
Add fresh water to the reservoir, then turn on the pump to test the system.
Check that water enters the growing bed evenly. Turn off the pump and confirm that water drains back into the reservoir.
Test the system several times before adding plants.
Step 5: Add the Growing Medium
Rinse expanded clay pebbles thoroughly to remove dust.
Fill the tray evenly, keeping the drainage fittings clear.
Clay pebbles work well because they provide root support while allowing water and air to move through the bed.
Other materials may work, but their water-retention properties can require different watering schedules.
Step 6: Prepare the Nutrient Solution
Pour clean water into the reservoir and mix in hydroponic nutrients following the product’s recommended dosage.
Check the nutrient solution’s pH level and electrical conductivity (EC) to ensure suitable growing conditions
Many hydroponic crops grow well in slightly acidic conditions, although exact requirements vary by plant.
Oklahoma State University’s hydroponic pH and EC guide provides recommended ranges for different vegetables.
Adjust nutrient concentration and pH gradually before introducing plants.
Step 7: Transplant Your Seedlings
Start seeds separately until they develop healthy roots and several true leaves.
Gently transfer the seedlings into the growing medium, positioning their roots where they can receive moisture during flooding.
Avoid burying plant stems too deeply.
Leave enough space between seedlings to accommodate their mature size and maintain good airflow.
Step 8: Set the Watering Timer
Connect the water pump to a suitable digital timer.
Program watering cycles based on your growing medium, plant size, and environmental conditions.
The University of Minnesota’s small-scale hydroponics guide explains how ebb-and-flow systems periodically flood and drain growing trays.
Monitor root-zone moisture during the first few days and adjust the schedule as necessary. Allow the bed to drain properly between cycles.
Best Plants to Grow in a Hydroponic Bed
Choosing suitable crops makes your first growing experience easier.
These vegetables and herbs are good starting options:
- Lettuce: Compact, fast-growing, and suitable for small systems.
- Basil: Produces flavorful leaves with adequate light and nutrients.
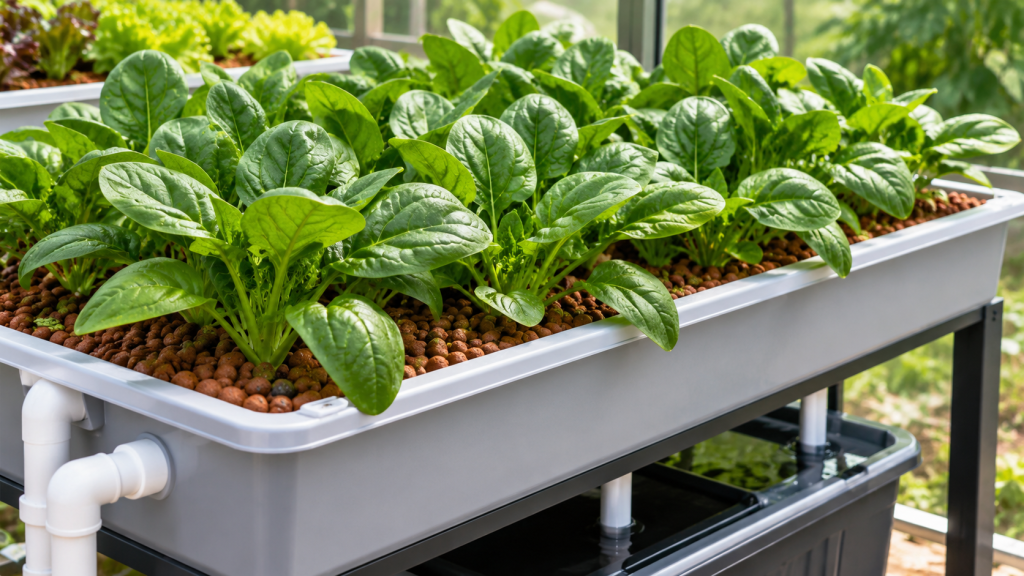
- Spinach: Prefers relatively cool growing conditions.
- Kale: Provides harvestable leaves over an extended period.
- Pak choi: Grows relatively quickly and suits hydroponic production.
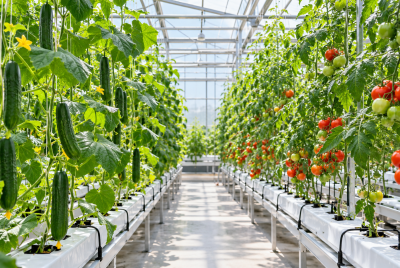
Tomatoes, peppers, and cucumbers are also possible, but they require more growing space, support, and careful nutrient management.
5 Recommended Products for Building a Hydroponic Bed
The following products can help you assemble and maintain a reliable hydroponic growing system.
1. VIVOSUN 800 GPH Submersible Water Pump
This adjustable pump circulates water between the reservoir and growing tray. Its compact design and adjustable flow make it useful for hydroponic projects, although pump capacity should match the bed’s size and lifting height.
2. Hydroton Original Clay Pebbles
Hydroton clay pebbles provide root support, drainage, and air circulation. Their lightweight, reusable structure makes them a practical growing medium for flood-and-drain beds.
3. General Hydroponics FloraSeries Nutrients
This three-part fertilizer system supplies essential nutrients for plant development. Growers can adjust the mixture according to crop requirements and growth stages.
4. Bluelab Combo Meter
The Bluelab Combo Meter measures pH, electrical conductivity, and water temperature. It helps growers monitor nutrient conditions and identify potential imbalances.
5. Hydrofarm Flood Table Grow Tray
Hydrofarm flood trays provide a convenient foundation for ebb-and-flow systems. Choose a model with suitable dimensions and sufficient depth for your growing medium and plumbing fittings.
Common Hydroponic Bed Mistakes to Avoid
Small setup problems can affect plant growth, especially when several crops share the same nutrient solution.
Watch for these common mistakes:
- Poor drainage: Standing water can reduce oxygen availability around roots.
- Incorrect nutrient concentration: Excessive fertilizer may damage plants, while insufficient nutrients can limit growth.
- Ignoring pH: Unbalanced pH affects nutrient availability.
- Insufficient lighting: Weak lighting can produce slow, stretched growth.
- Neglecting maintenance: Blocked tubing or a faulty pump can interrupt water delivery.
Check your equipment regularly rather than waiting for visible plant damage.
How to Maintain Your Hydroponic Bed
Check the reservoir’s water level daily, particularly during warm weather when plants consume more water.
Monitor pH and EC regularly and adjust nutrients according to crop requirements. Keep the reservoir covered to limit algae growth.
Inspect the pump, tubing, and drainage fittings for blockages. Remove dead leaves and clean equipment between growing cycles.
Replace nutrient solution when necessary to prevent imbalances from accumulating.
Consistent monitoring helps maintain healthy roots and reliable water circulation.
Conclusion
Building a hydroponic bed comes down to getting a few essentials right: a sturdy growing tray, proper water circulation, and a balanced nutrient solution. Once these are in place, you can grow fresh vegetables at home without depending on traditional garden soil. Starting with a small flood-and-drain system also makes it easier to monitor plant growth, adjust watering cycles, and gain confidence before expanding your setup. Choose a suitable spot for your hydroponic bed, gather the materials, and start with a few lettuce or basil seedlings to put your new growing system to the test.
FAQs
1. How deep should a hydroponic bed be?
A depth of approximately 6–10 inches works for many small flood-and-drain projects. Larger crops may need deeper growing areas depending on their root systems and the growing medium used.
2. Can I build a hydroponic bed without electricity?
Yes, passive hydroponic methods can operate without electricity. However, the flood-and-drain system described in this guide requires a powered water pump and timer.
3. What is the best growing medium for a hydroponic bed?
Expanded clay pebbles are a popular choice because they provide drainage, aeration, and root support. Coco coir and perlite can also work in suitable systems with adjusted watering schedules.
4. When should i replace the nutrient solution in my hydroponic system?
Replacement frequency depends on reservoir size, water quality, and plant growth. Some growers replace the solution approximately every two weeks, while others adjust based on monitoring and system conditions.
5. Can I grow tomatoes in a hydroponic bed?
Yes. Tomatoes grow well in appropriately designed hydroponic systems, but they require adequate root space, strong lighting, plant support, and careful nutrient management.